»Printing dental arcades in 3D using the Tiertime UP300 FDM 3D printer
Printing dental arcades in 3D using the Tiertime UP300 FDM 3D printer
In just a few years, 3D printing has become an essential tool in dentistry. Dental 3D printing associates cost efficiency and simplification of production processes to extremely accurate results. Dental 3D printing allows for quick production and participates in reducing wait times. Combined usage of 3D scanners and of a Tiertime UP300 3D printer improves the level of efficiency and comfort of the care process for the benefits of the patients and health practitioners alike.
Why 3D print dental arcades?
Printing dental arcades in 3D allows for :
Creating dental treatments such as occlusal mouth guards (gutters) to correct tooth alignment and solve functional or esthetical conditions. The 3D scanned model is imported in CAD / CAM software (Computer-Aided Design / Manufacturing) enabling medical practitioners to define the different corrections to apply throughout all the phases of the treatment. The corrected dental impressions are then ready to be 3D printed. Once the printing is done, the different dental impressions can then be thermoformed using a biocompatible material,
Printing study model and surgical guide to facilitate the pre-operative work as well as the communication of information to patients and other actors (students, assistants, …).
What are the advantages of 3D printing dental arcades?
Improve profitability and cost efficiency,
Save time and reduce treatment times. Avoid unnecessary transport of dental plasters between prosthetists and orthodontists by making it possible to send the digital dental impression digitally,
Less manual labor (no need for plaster anymore),
High quality and reproducibility,
Facilitates the management of patient files and facilitates remote collaborative work.
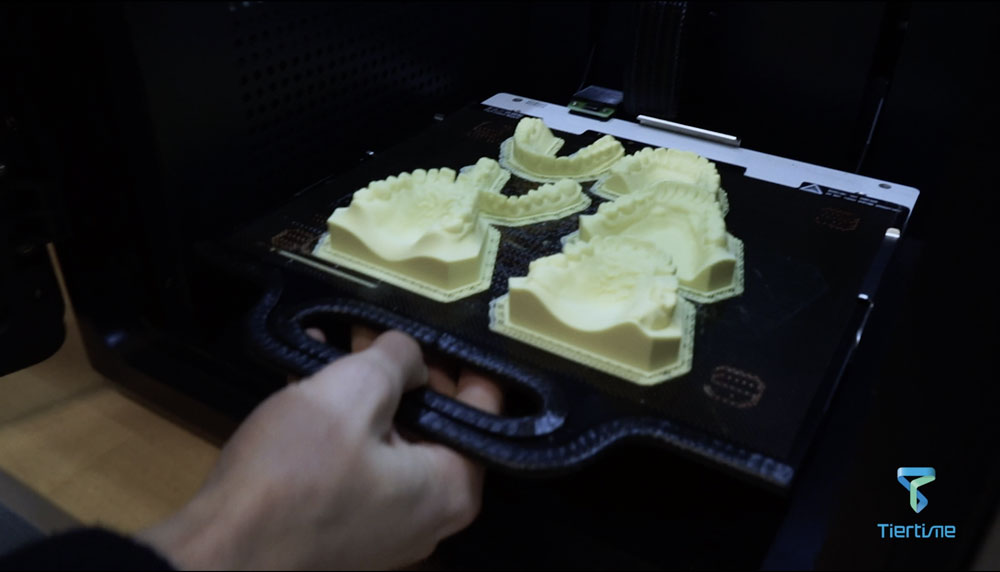
Demonstration of dental arches 3D printing using the Tiertime UP 300 FDM 3D printer
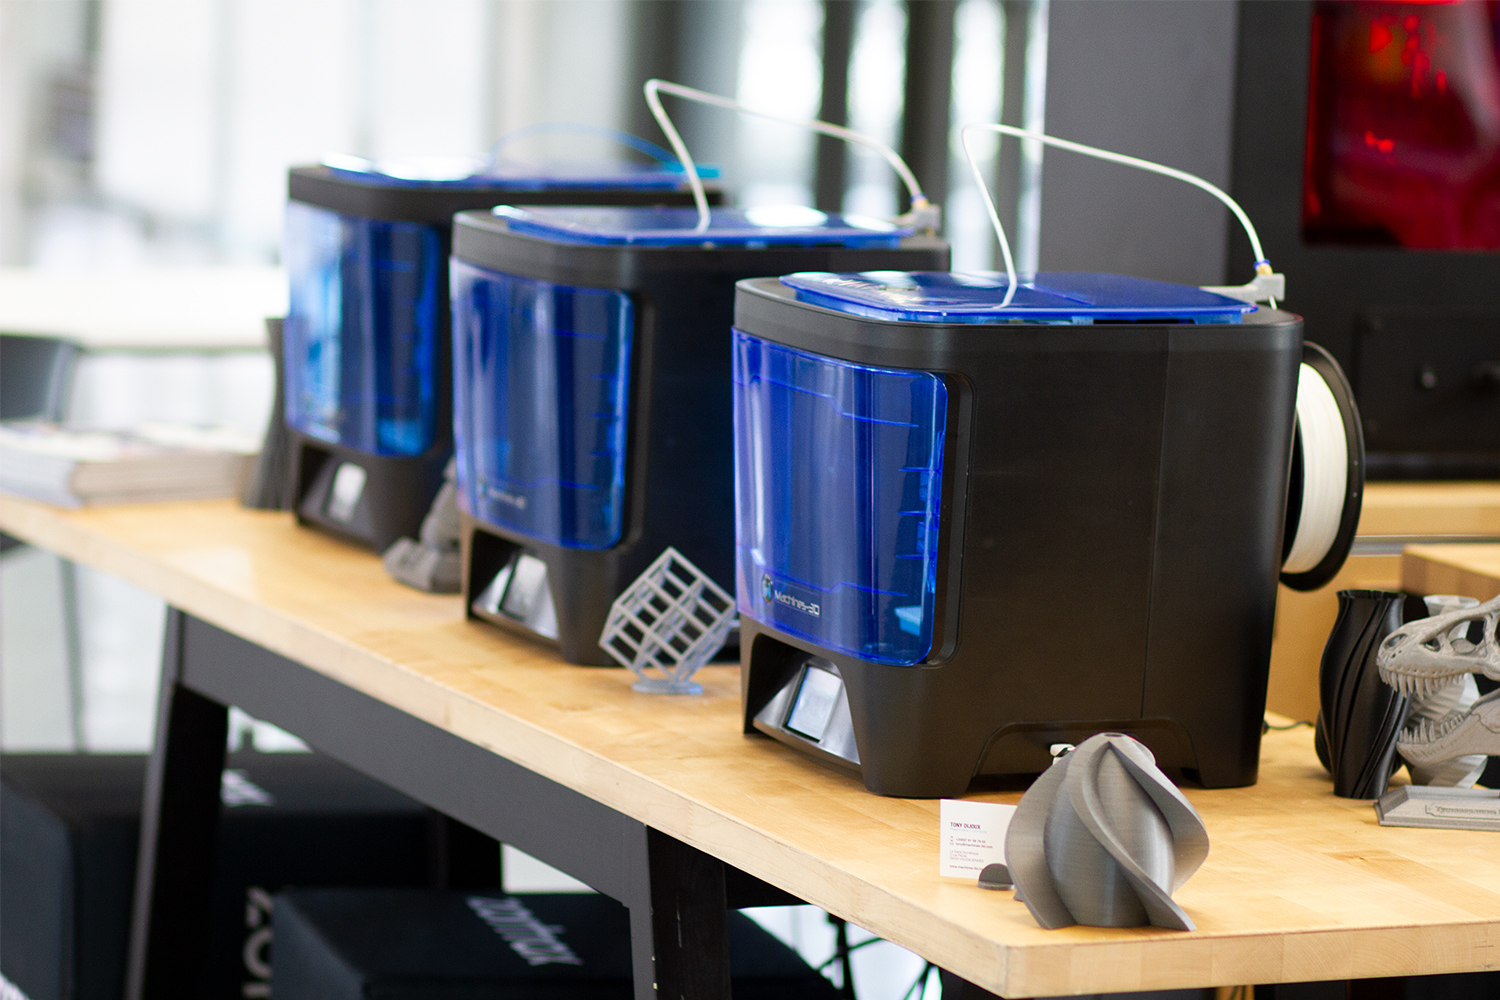
The ease of use, reliability, and accuracy of the Tiertime UP 300 FDM 3D printer makes it a printer of choice for many dental offices and laboratories.
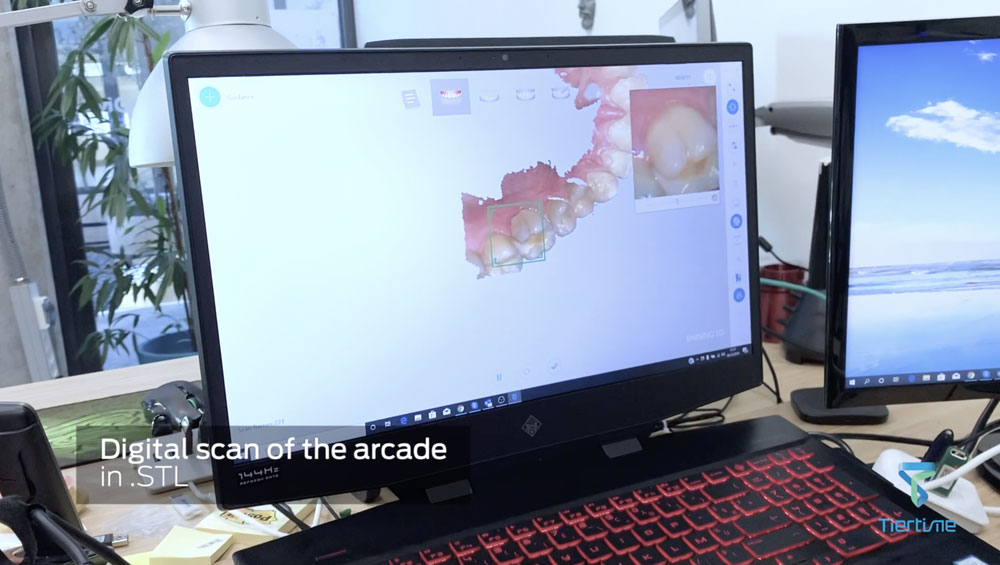
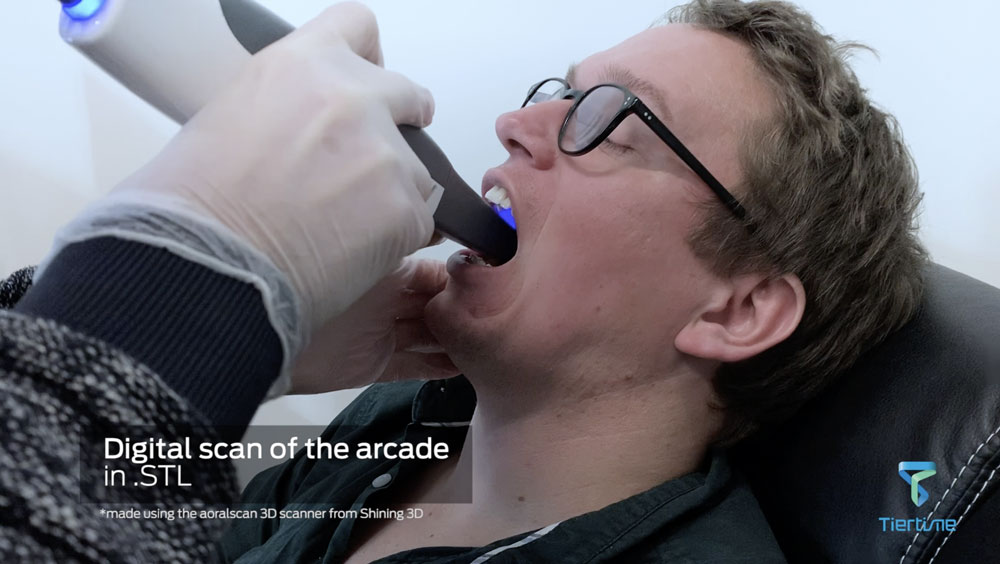
Acquiring the dental impression in «.STL »:
Before being able to print the dental arches, the user needs to capture a digital scan of the patient’s dental arches. The model can be captured using a pre-existing traditional dental casting (from plaster or alginate impressions) using a dental desktop 3D scanner (such as AutoScan DS-EX PRO S) or directly in the patient’s mouth using a dental intraoral 3D scanner (such as Aoralscan).
Once the digital impression has been taken, the health practitioner can get a file of the patient's dental occlusion using the Shining3D acquisition software and to export the file in a CAD / CAM software to accomplish the different treatments required to solve the patient pathology. The next step consists of exporting the corrected dental arcades in an «.STL » file and opening them on the 3D printing preview software (Slicer) Tiertime UP Studio.
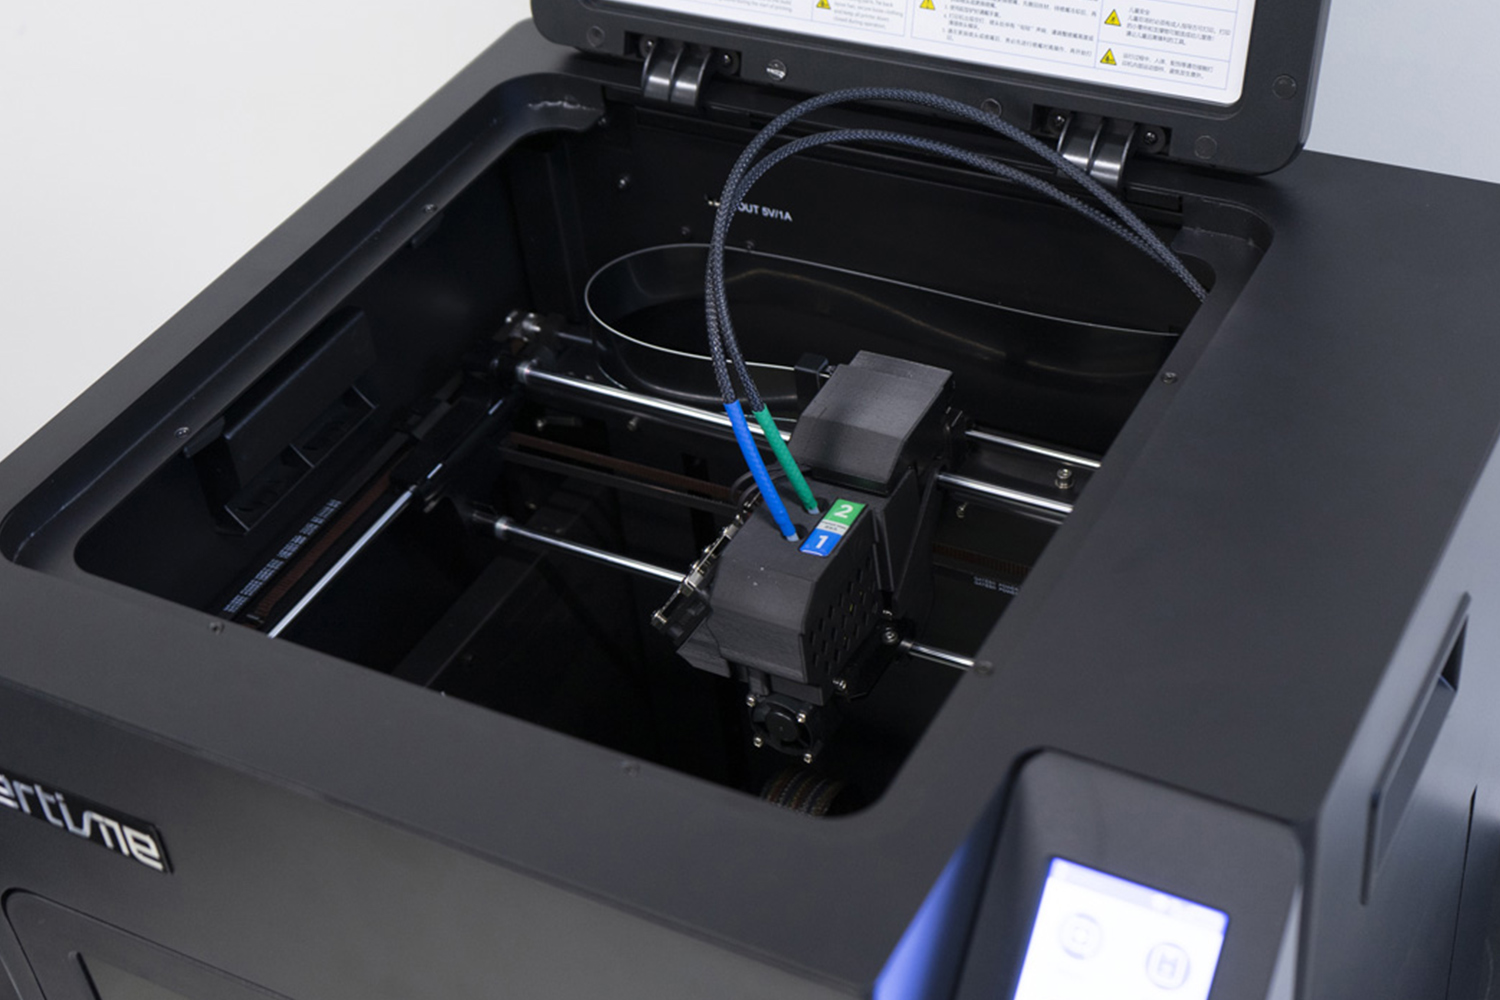
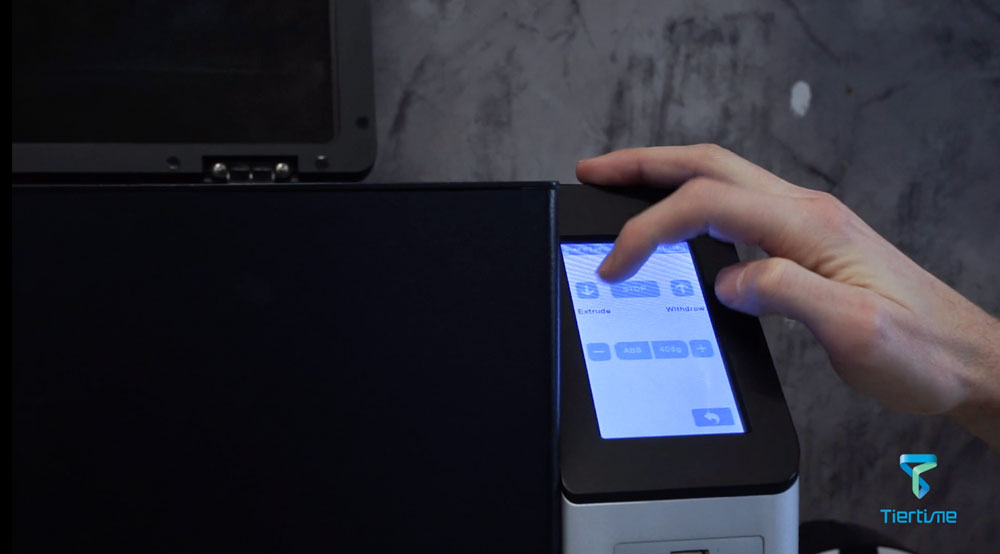
Getting the 3D printer and the filament reader:
The FDM 3D printer Tiertime UP300 is compatible with different kinds of filaments such as ABS and PLA. Once the material is chosen, the user needs to position the filament spool in the Tiertime UP 300 3D printer’s compartment and allow the cable to go through the grommet tubing up to the extrusion head.
As soon as the filament is positioned at the entry of the head, the user has to press extrude on the Tiertime UP 300’s screen to load the material: the head heats up to 280°C (536° F), the filament is injected in the nozzle and starts to flow off. The 3D printer is ready to print.
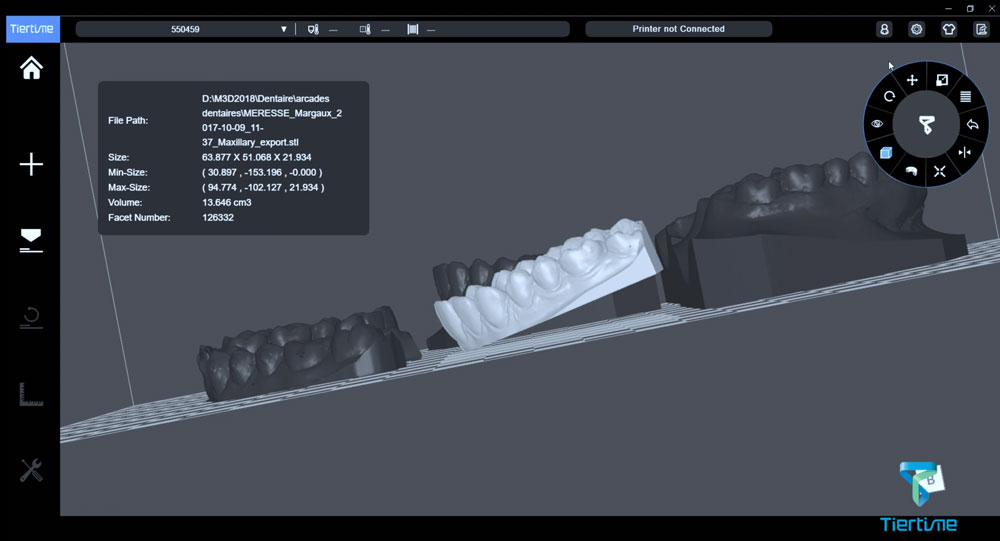
Getting the «.STL » files ready on the Slicer (UP Studio):
The user imports the « .stl » files of the dental impressions on the Tiertime UP studio software (slicer).
On UP Studio, the user is able, for instance, to position the different impressions on the printer’s bed and to select the different printing parameters. It is possible to add a raft to prevent any warping during the printing or even to generate printing supports in case of overhangs. The user can also select the different materials and printing accuracy of its choosing.
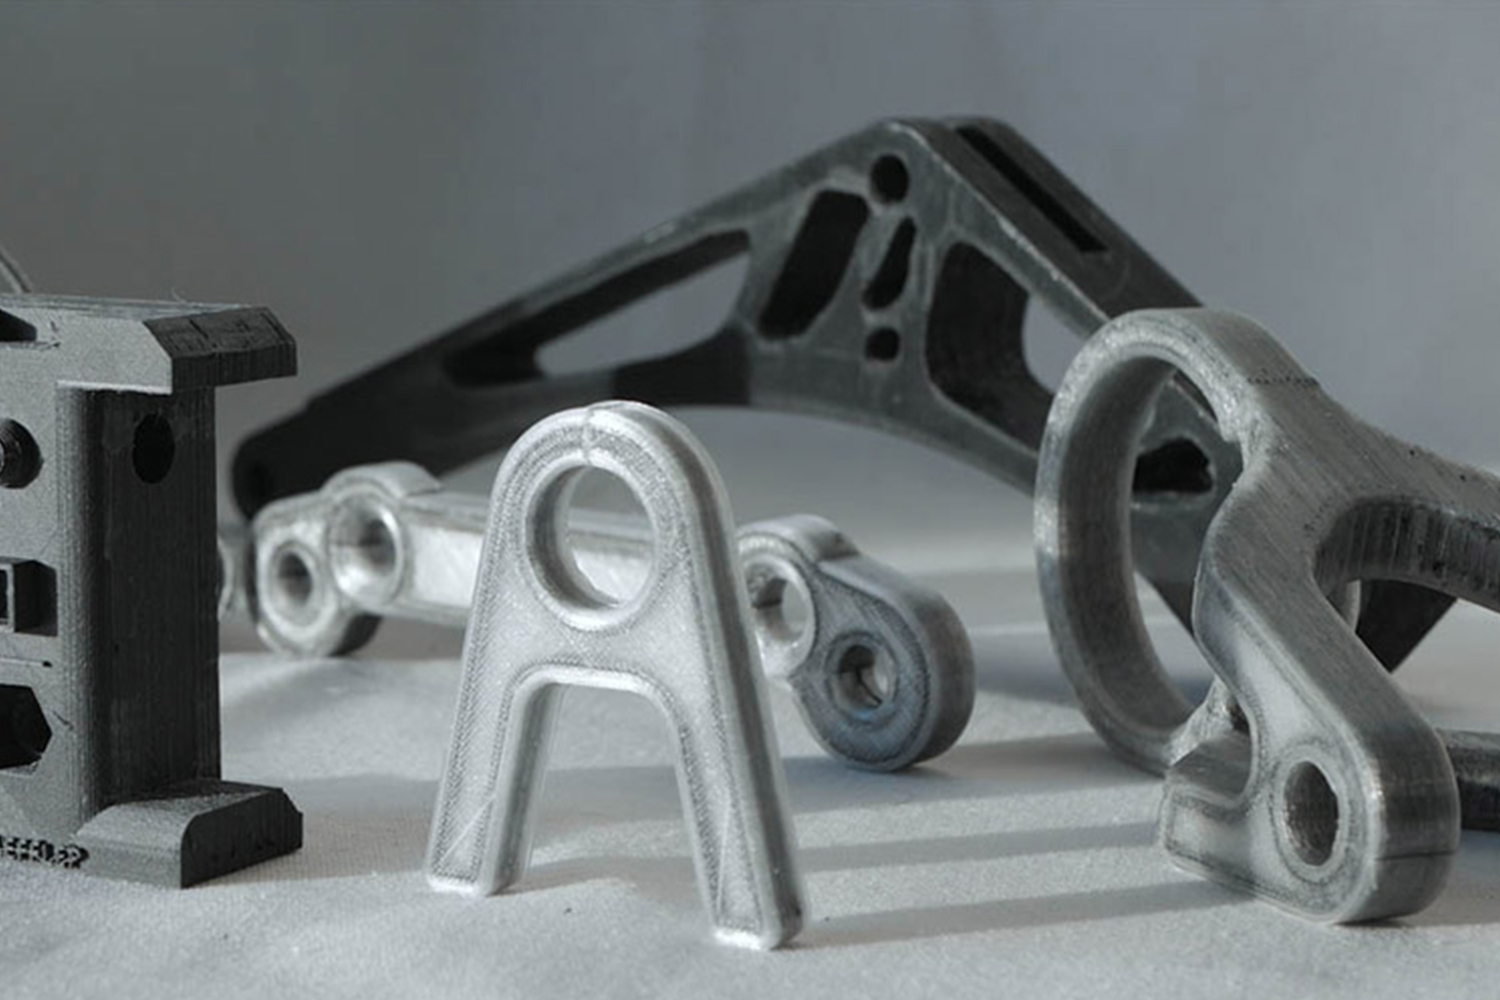
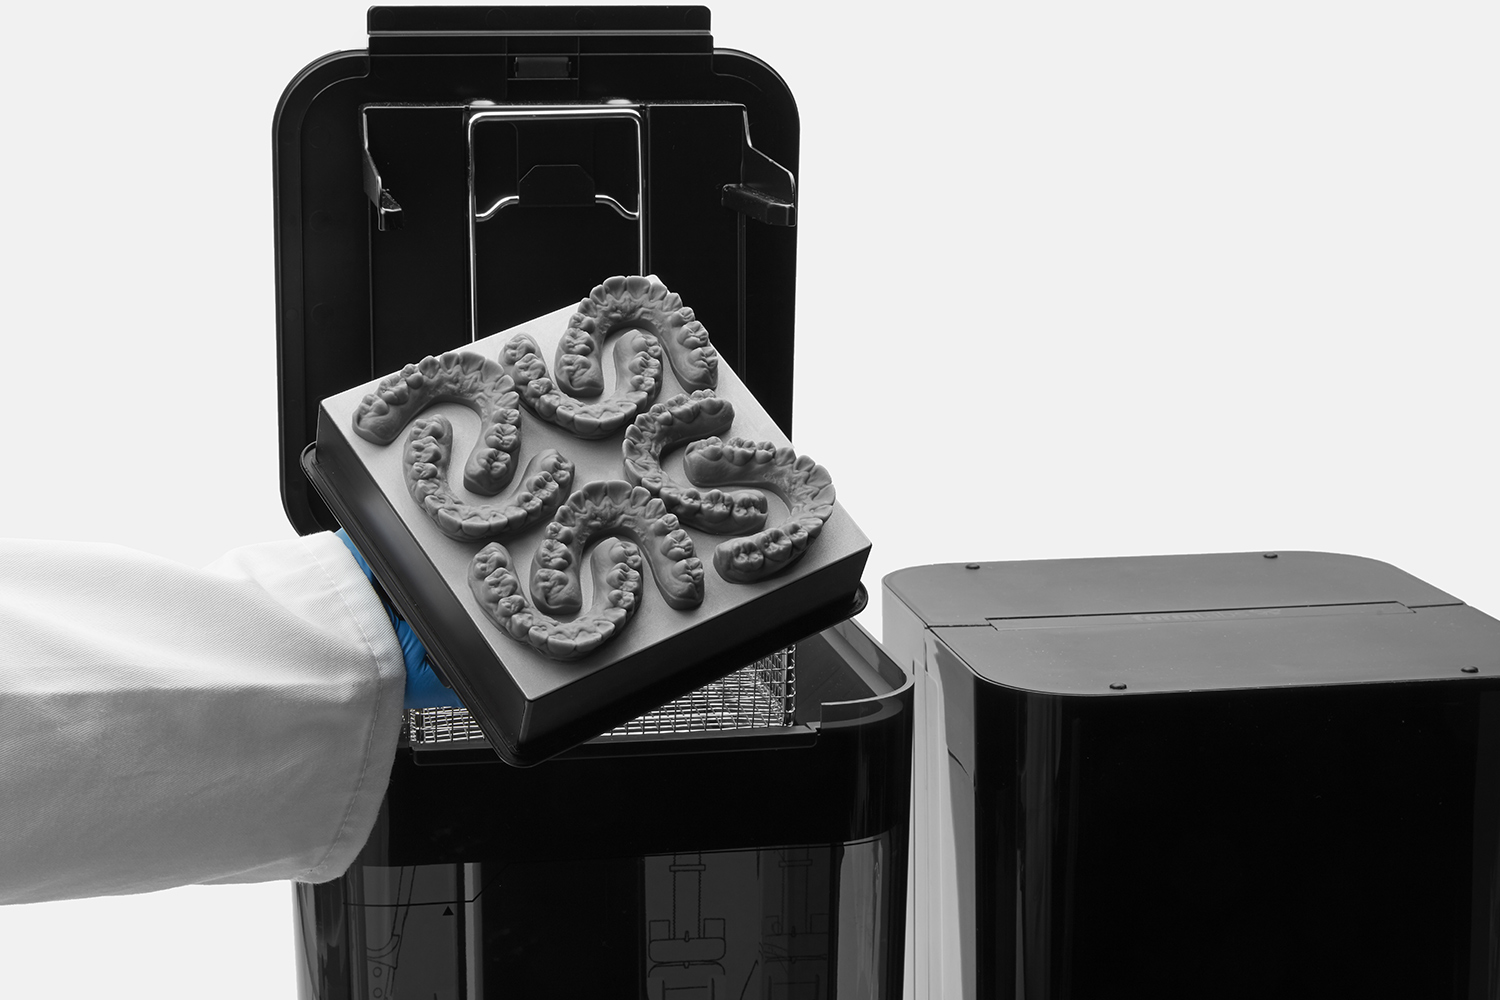
Once those settings have been set up, the 3D printing is ready to begin. In the case of a dental arcade, the postproduction is minimal and consists of removing the raft and potential 3D printed supports.
This site uses cookies to offer you an optimized and personalized user experience, to make our audience statistics, or to offer you advertising and offers tailored to your desires and interests. You can, however, uncheck the cookies that you do not want us to use.
Technical cookies are necessary for the functioning of the site and can not be disabled. However, they are only collected and used during your presence on this site.
 N°1 European E-Shop for 3D Printing and scanning